Setup, Compatibility & Care
Compatibility Check:
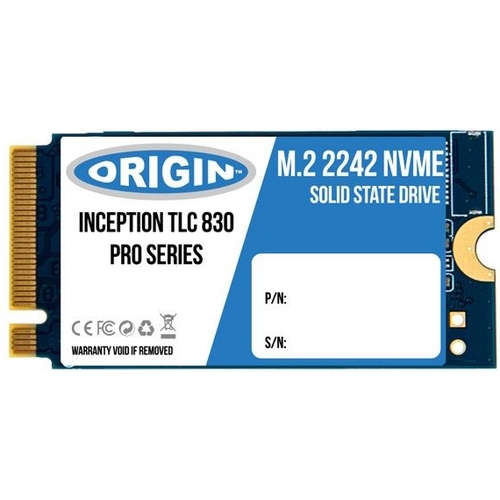
Before installation, verify that your computer or server has a compatible M.2 slot that supports NVMe drives. Crucially, confirm that the M.2 slot supports the 42mm (2242) form factor, as this is a specific physical size.
Installation Steps:
- Power Down: Completely shut down your system and unplug the power cord.
- Open System: Access the internal components of your laptop or desktop.
- Locate M.2 Slot: Identify the M.2 slot on your motherboard or laptop.
- Insert SSD: Carefully insert the M.2 SSD into the slot at a slight angle, then gently press it down and secure it with the designated screw.
- Reassemble & Power On: Close your system, reconnect power, and turn it on. Your system may prompt you to format the new drive.
- Initialize & Format: If the drive is not automatically detected, you may need to initialize and format it using Disk Management in Windows or Disk Utility in macOS.
Care Instructions:
- Avoid Physical Shock: While SSDs are more robust than HDDs, excessive physical shock should still be avoided.
- Maintain Airflow: Ensure adequate cooling within your system to prevent overheating, which can impact performance and longevity.
- Firmware Updates: Periodically check the Origin Storage support website for any available firmware updates for your specific SSD model.



 PCHUB.UK£76.48Visit shop
  Frasers£159.00Visit shop


